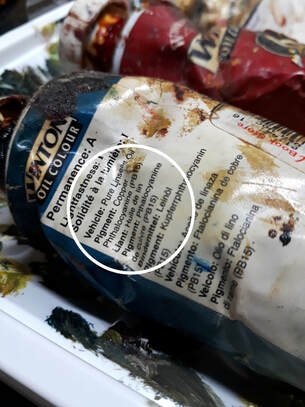
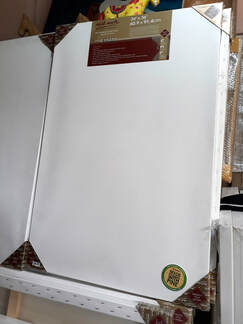
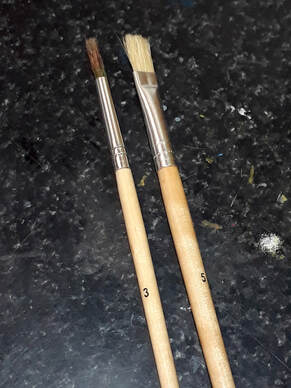
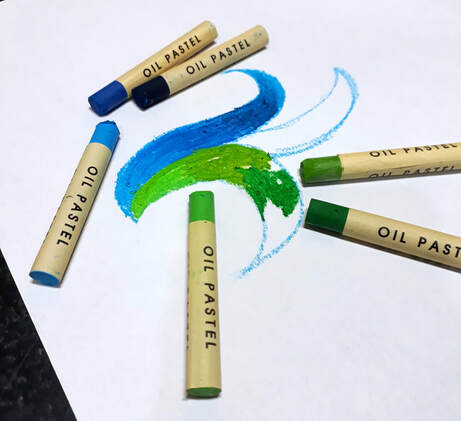
But before anything else, I guess you could say that the first thing you might ‘get into your head’ for oil painting is… Don’t get intimidated by the medium.No, really—I had this classmate back in art school who told me in these exact words that the reason he seemed to be having so much trouble with oil was because he was intimidated by it. (Well, he was really more of a pen and ink, Superflat kind of guy.) And that’s, totally understandable, right? I mean, you know. It’s not like Rembrandt or Vermeer used crayons or something. But you know, a word about crayons, and oil pastels. You wouldn’t be intimidated by those, right? Most of us used those as children (on the walls, even). You know how they tell you to learn to ride a bike first before you drive a car? It’s like that. If you can more or less ‘blend’ colours using crayons or oil pastels, then you’ll be able to ‘get’ oil painting. At least, for our basic, quick-start purposes. So now let’s have a quick word about what oil paint is. Because I think the better you know what something is, the better you’ll be able to use it. Paint is basically pigment + binder x medium. The pigment is the thing that gives paint its colour. The binder is what holds the pigment together, and the medium is what makes it, shall we say, flexible enough to manipulate or mix together. I say ‘binder x medium’ (if you’ll forgive my written slang) because both have a hand in ‘making it stick’ to the painting surface. So with oil paint, the medium (and the binder) is oil, usually linseed. The pigment these days is usually chemicals but back in the day people used to, you know, smash up rocks (i.e. minerals)… that kind of thing. Try checking out the label on a tube of oil paint, you’ll see what I mean. Here it says ‘vehicle’ instead of ‘binder’ or ‘medium’. As you know, oil dries reeeal slow (at least, not as quickly as water), which means you’ll have a lot of time for blending and adjusting—after all, it’s not called ‘the most forgiving medium’ for nothing. (Knowing that could help to allay any intimidation you might’ve had.) But why are oil paintings prized the way they are? The quick and easy answer is their archival value. You see, when (some) (serious) people buy paintings, they do it as a form of investment, which means they expect the assets they invested in to last (kind of like gold, jewellery or land). Going further back than Van Eyck in the 1300s, which is probably around the time oil paintings started looking like the ones we’re used to seeing today, oil paint itself has been around since around 650 AD. That was when they figured these cave paintings they found in Afghanistan used oil paint (which used walnut or poppy seed oil)—so you know the stuff lasts, right? //wink Okay, now let’s talk about your Stuff.Obviously, you’re going to need a few more things on top of, well, the oil paint (lol), brushes and canvas. I’ll make a stuff list here along with a few descriptive + explanatory notes for each thingie. 1. Canvas. This is a quick-start guide, so, just buy some pre-prepared or already stretched at your local art store (meaning don’t get it folded, in a roll, or fresh off the loom). Chances are it’ll already be primed. ‘Primed’ means there’s already a layer (at least two) of (ideally) gesso (which is a kind of acrylic) to seal in all the holes in the canvas (cos it’s cloth, remember?). This doesn’t mean you can’t paint on unprimed canvas (because some people legit do), but note that the canvas will soak up the oil in your paint. 2. Brushes. Again, this is a quick-start guide, so I’m not going into the merits of the bazillion different kinds of brushes out there. But two hoghair x bristle brushes: one flat no. 5 or 6, and one round no. 2 or 3 should be okay to start with. 3. Oil Paint (lol). Now some people start by getting a set, which is perfectly fine. But really, you only need four tubes—that’s red, yellow, blue and white. Which red, yellow, blue and white? That’s a personal choice, really, but for me x for our quick-start purposes I would pick
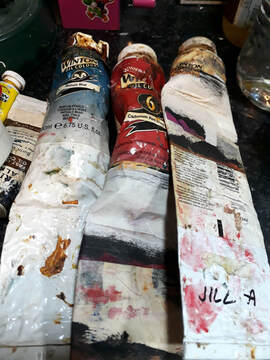
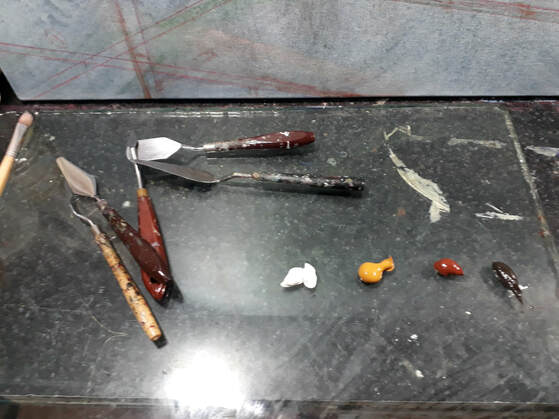
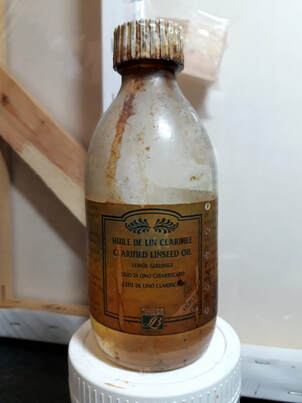
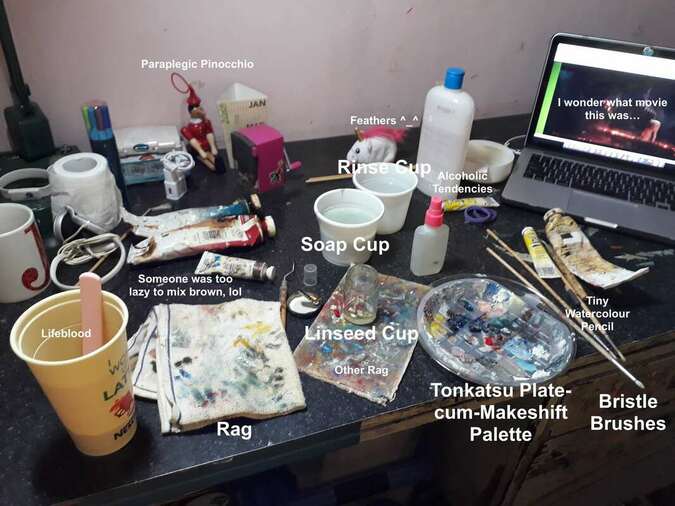
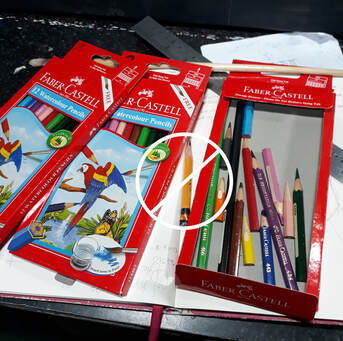
My immortal tubes of oil paint 4. Palette. Even if this is just a quick-start guide, I would quickly tell you that glass is best. Any thickish piece of glass will do (about a centimetre thick). If you can’t find glass, get a biggish bathroom tile (like 8 x 8” / 20.32 x 20.32cm). They also sell coated paper disposable palettes (try looking in the place where you got your canvas)—some people also use coated paper plates for this purpose. And, some people also like to put their glass palette on a white background. That’s acrylic on there in the picture but that is my glass palette. 5. Linseed oil. You won’t need a whole lot to start with; a tiny bottle will do. You might also want to have a tiny cup for your tiny linseed oil //grin. So you may be asking yourself, what do I need a bottle of linseed oil for when my paint’s already got oil in it? Well, the simple answer is this: how much oil there is in your paint, as well as its consistency or how thick it is, varies between paint manufacturers. Some brands will be (if you’ll forgive the food analogy) more buttery or spreadable than others. If you find yourself having a hard time spreading or blending your colours, just—I don’t like to say ‘dip’ (because you might just dunk it in there). But let the tip of your brush ‘kiss very lightly’ the surface of a tiny amount of linseed, about, oh shall we say, half a teaspoon or so. There are other ways to use linseed oil in varying amounts but ‘kissing’ is enough for a quick start. My immortal bottle of linseed oil 6. Dishwashing liquid. Okay, here’s the thing. I used to use turpentine or paint thinner to clean my brushes (and my hands!)—but they taught us in art school to use dishwashing liquid instead. Put a goodly amount in a cup of water and wash your brushes in that. See, paint thinner is not healthy—to smell or touch. Dishwashing liquid was meant to come into contact with skin. (And, having gotten your quick start in oil painting, I would hope you live long enough to either explore it more fully or get a quick start in something else again.) 7. Two cups. One for your dishwashing liquid solution and one for water to rinse the soap off—because obviously you don’t want the soap (which is designed specifically to break down grease (i.e. oil) to come into contact with your paint (think Kryptonite). 8. Rag. As I like to tell my younger students, you’re going to need this to ‘towel’ your brushes off after they ‘take a bath’. I had a professor who once said you can’t watch TV and paint at the same time (he was right). Okay those were the essentials. I didn’t put an easel because you can just as well prop your canvas up against a wall, depending on how big it is. If the canvas you chose is on the small side you could probably get a desktop easel. And depending on how neat or not-so-neat you are, you might also want to get an apron or a smock (or just wear something you wouldn’t freak out over if you should get paint on it). (Oil is notoriously difficult (if not impossible) to wash out of your clothes, by the way.) You might want to have some scratch paper on hand for making thumbs or studies, which are preliminary sketches you make for planning your painting out before you get to the canvas. Naturally you’ll need something to doodle with—a pen, pencil, lipstick, blood (just kidding)… And if you’re the type to draw on the canvas first as opposed to just ‘attacking’, you’ll want a watercolour coloured pencil, and not an ordinary lead or graphite pencil. Why? Because lead pencils make crumbs if you erase on the canvas, and you can’t be sure you get aaall the crumbs and we don’t want those crumbs to mix with the paint. But more importantly, the lead also has a tendency to show through the paint. Not that that’s necessarily a bad thing; some artists do do this on purpose / make it integral to their work. Depending on what colour they are, coloured pencils shouldn’t be as obvious, but more importantly, they’re easier to erase if you have to (just dip a brush in water). Now that you have your stuff, here are a couple of quickie techniques to get you started.First (fittingly), let’s talk about Alla Prima—If that sounds like pasta, that’s because it’s Italian for ‘first attempt’ or, for our purposes, ‘first go’. Very simply, it’s continuing to paint without waiting for a previous layer to dry first—you just keep going. Since oil paint takes a while to dry anyway, the still-wet paint will make it possible for you to blend colours straight on the canvas as you go along. (Remember what I said about ‘blending like crayons or Cray-Pas?' This would be it.) So basically you’ll be doing this but with a brush. Remember those four tubes of paint I’d put on your List of Stuff just now? I wasn’t kidding when I said those were all you needed for a quick start (and with the prices of paint these days, you might be relieved). (Believe me, buying paint in a set might not be the smartest thing if you’re like me and need to be smart about pinching painting pennies.) That’s because all you need boils down to basic ‘colour maths’—you know…
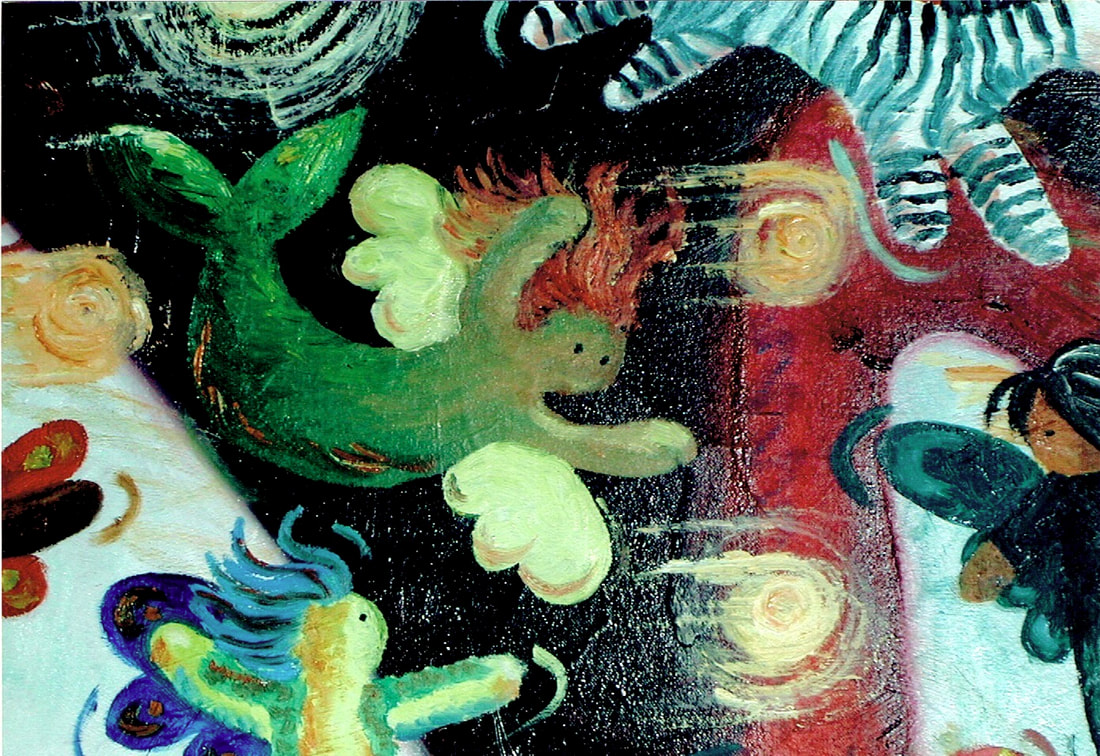
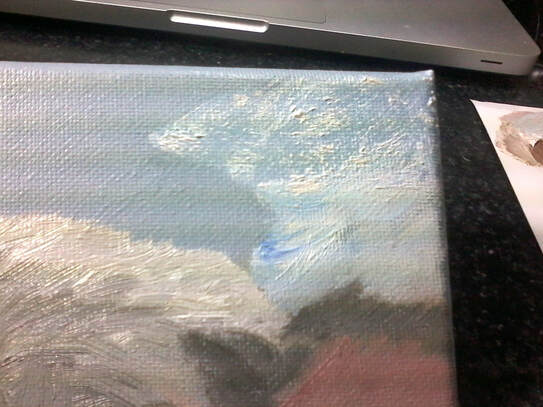
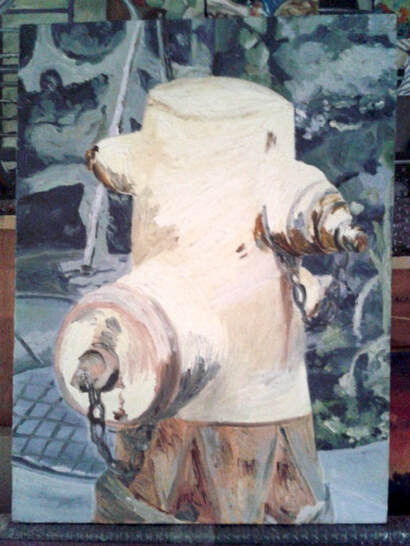
…and if you needed ‘black’ (which some artists-slash-art teachers will tell you is a cardinal sin to use anyway), just mix in some more blue with your brown. (Personally, though, proscribing black isn’t a commandment or anything, but for a quick start it might help keep your work from getting, shall we say, a little messy in a not so good way.) Of course, having everything pre-mixed in tubes would be quicker seeing as you would save mixing time (LOL). So I guess it would boil down to how quick you wanted to be in terms of acquiring stuff to paint with or the actual process of painting. Way I see it, you’d be painting alla prima anyway and, mixing on the fly can be fun, too. In any case, I think alla prima is a fun, spontaneous way to paint and I love the immediacy of it. Nothing is Impastoble!Then there’s Impasto, which sounds more like pasta, doesn’t it? But more so (if you read it another way) like ‘paste’. Very simply, it’s painting using very thick globs of paint, almost like, well, paste. The nice thing about this technique (for me) is how it creates texture and how you can really see the strokes, which for me are like an artist’s ‘handwriting’, if you will. Remember Bert (as in Ernie and)? The Impressionists used this technique a lot, as did the Expressionists, which doesn’t surprise me since for me this is a very expressive, energetic or dynamic way to paint. If you’re the kind of person who prefers to be very neat and to create very smooth and seamless paintings, Impasto probably wouldn’t be your cup of tea. In any event, seeing as this quick-start guide is just the tip of the tip of the tip of the titanically proportioned iceberg that is oil painting, know that there are several other techniques and materials to explore. Of course, again, this guide just covers the ‘how’—thinking up ‘what’ to paint is something else again. But for ‘beginning beginners’ (as Dr Seuss and Co put it), I think landscapes might be the easiest thing to start with (and not non-rep (non-representational art, which a lot of people refer to as ‘abstract’). This is acrylic, actually (sorry I can’t find a photo of a basic-ish one I’d done in oil at the mo’). So that’s how a jillamonster would try to help a crammer learn oil painting in a jiffy. If you’d like another (the other?) hand to hit the ground running in oils, help is just around the corner.
0 Comments
Leave a Reply. |
Categories
All
Archives
June 2024
|

 RSS Feed